> ## Documentation Index
> Fetch the complete documentation index at: https://docs.curator.interworks.com/llms.txt
> Use this file to discover all available pages before exploring further.
# Adding Your First Dashboard
> Step-by-step guide to create your first analytics connection and add dashboards to Curator.
Click on **Integrations → Connections**
Click on **New Connection button**
* **Name**
* Name your connection
* **Slug**
* This slug (url extension) will auto-generate but can be customized
* **Description**
* **Platform**
* Options include: Tableau, Power BI, ThoughtSpot
* After selecting an option, fill out the platform specific connection information and credentials
## Tableau
### Tableau Server
1. **Enter Site name** (e.g. `https://analytics.acme.com`)
2. **Enter Service Account credentials or Personal Access Token**. To enter Personal Access Token, follow the below steps:
1. Log onto your Tableau Server
2. Click account icon on top right of screen (by default, will by a circle with your initials in it)
3. Select My Account Settings
4. Scroll to Personal Access Token
5. Enter a Name for your Token and click Create Token
Additional information on Personal Access Tokens can be found in [Tableau’s documentation](https://help.tableau.com/current/pro/desktop/en-us/useracct.htm#create-and-revoke-personal-access-tokens).
### Tableau Cloud
1. **Select the Tableau Cloud Host region** (found in the server url)
2. **Enter the Site name** (found in the server url after logging in)
3. **Enter your Personal Access Token**
4. **To enter Personal Access Token, follow the below steps:**
1. Log onto your Tableau Server
2. Click account icon on top right of screen (by default, will by a circle with your initials in it)
3. Select My Account Settings
4. Scroll to Personal Access Token
5. Enter a Name for your Token and click Create Token
Additional information on Personal Access Tokens can be found in [Tableau’s documentation](https://help.tableau.com/current/pro/desktop/en-us/useracct.htm#create-and-revoke-personal-access-tokens).
#### Power BI
**Enter your Tenant ID in Azure**. To find your Tenant ID, follow this [documentation](https://learn.microsoft.com/en-us/azure/active-directory/fundamentals/how-to-find-tenant).
#### ThoughtSpot
1. Enter your ThoughtSpot URL
2. Enter your ThoughtSpot credentials
## Adding a Dashboard From Your Server
Once you have established a connection to your server you can begin adding individual Dashboard connections. For our
example we will follow along with a Tableau Dashboard but the instructions are similar for other BI platforms.
1. **Click Tableau** (or your BI Platform Option) → **Dashboards**
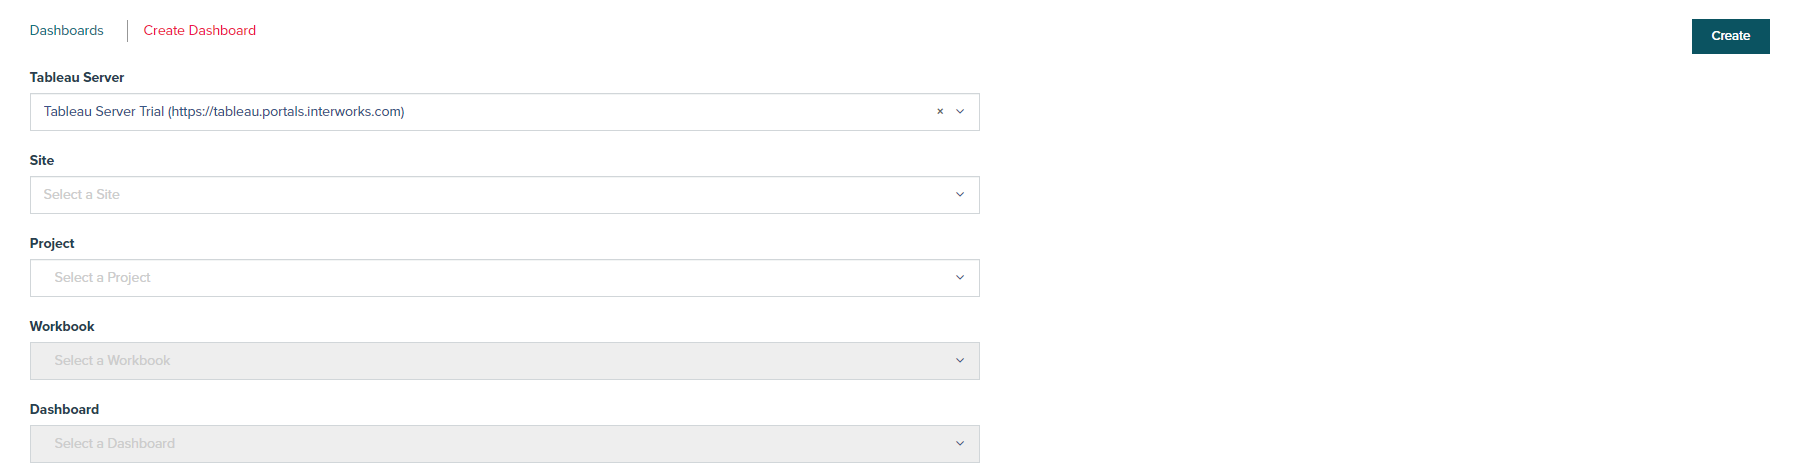
2. **Click the New Dashboard Button**
Select desired Server, Site, Project, Workbook, and Dashboard then click create to establish a connection.
 Connect dashboards will be listed in the Tableau → Dashboard menu:
 ## Adding a Menu Link to the Navigation
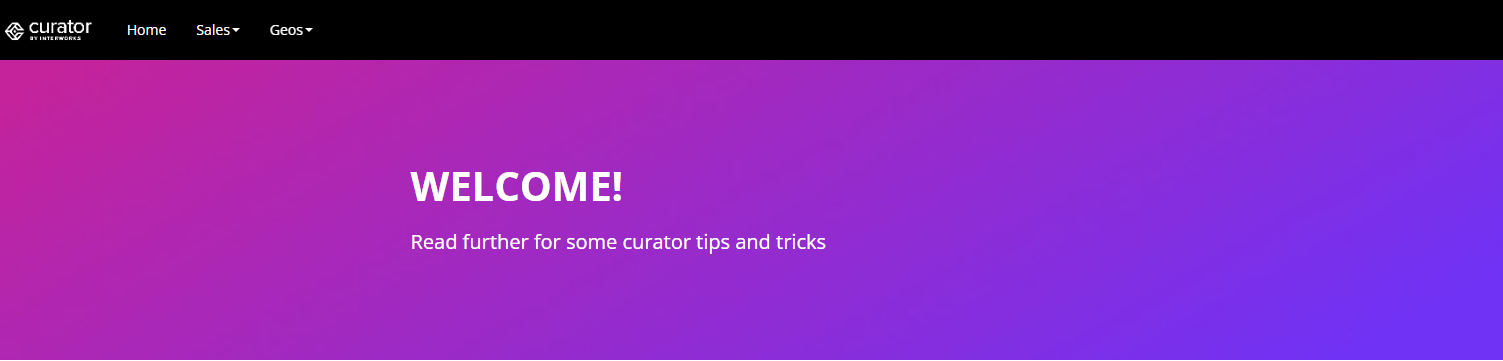
After a connection to a Dashboard has been established, the simplest method is to add a menu link to the navigation pane
at the top of your environment.
## Adding a Menu Link to the Navigation
After a connection to a Dashboard has been established, the simplest method is to add a menu link to the navigation pane
at the top of your environment.
 Click **Content → Navigation**
1. Select New Menu Link
2. Select your Dashboard Link Type
3. Select your Dashboard
4. Select Create
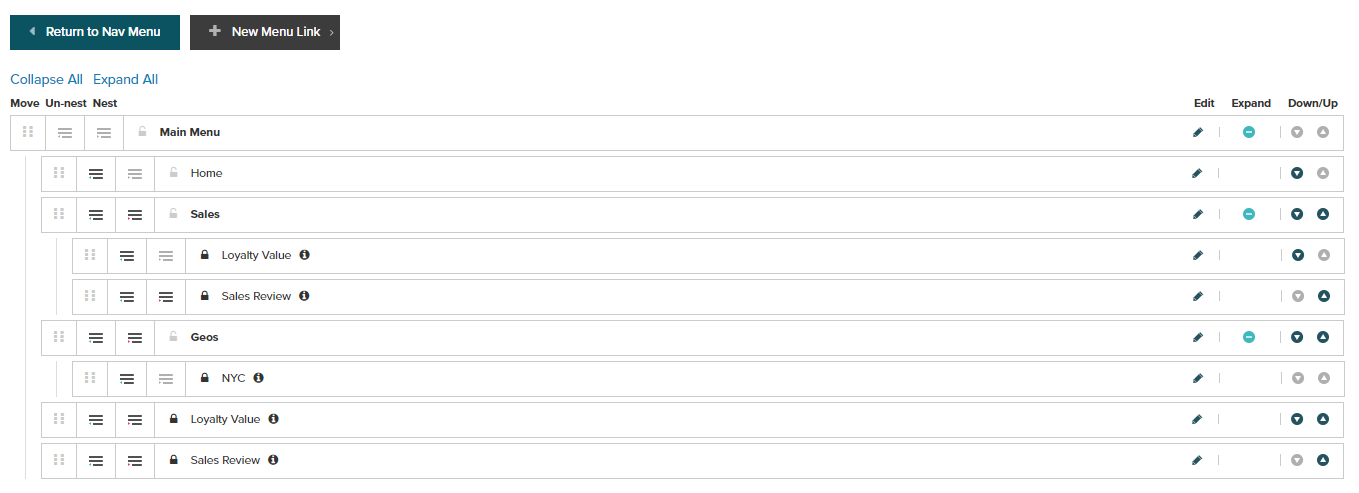
Once you create the link you will be brought to a page that displays the navigation hierarchy. You can control the
navigation pane’s order and drop down menus here:
Click **Content → Navigation**
1. Select New Menu Link
2. Select your Dashboard Link Type
3. Select your Dashboard
4. Select Create
Once you create the link you will be brought to a page that displays the navigation hierarchy. You can control the
navigation pane’s order and drop down menus here:
 After you have decided on hierarchy, navigate to the front end and see your new navigation menu items that lead to your dashboards: