> ## Documentation Index
> Fetch the complete documentation index at: https://docs.curator.interworks.com/llms.txt
> Use this file to discover all available pages before exploring further.
# Getting Started
> Comprehensive guide to building your first analytics portal in Curator with step-by-step instructions.
Welcome to our comprehensive guide on building an analytics portal in Curator —a powerful tool that will empower you to
make data-driven decisions and unlock valuable insights within your organization. In today's data-driven world, the
ability to harness and interpret information is crucial for staying ahead of the competition and optimizing business
processes. Whether you're a seasoned developer or a novice enthusiast, this step-by-step tutorial will walk you through
the process of creating an analytics portal, integrating data sources, adding dashboards, and designing an intuitive user
interface. Get ready to transform your data into actionable knowledge and unleash the full potential of analytics with
our easy-to-follow instructions and best practices. Let's embark on this exciting journey of building your very own
analytics portal!
## First Steps
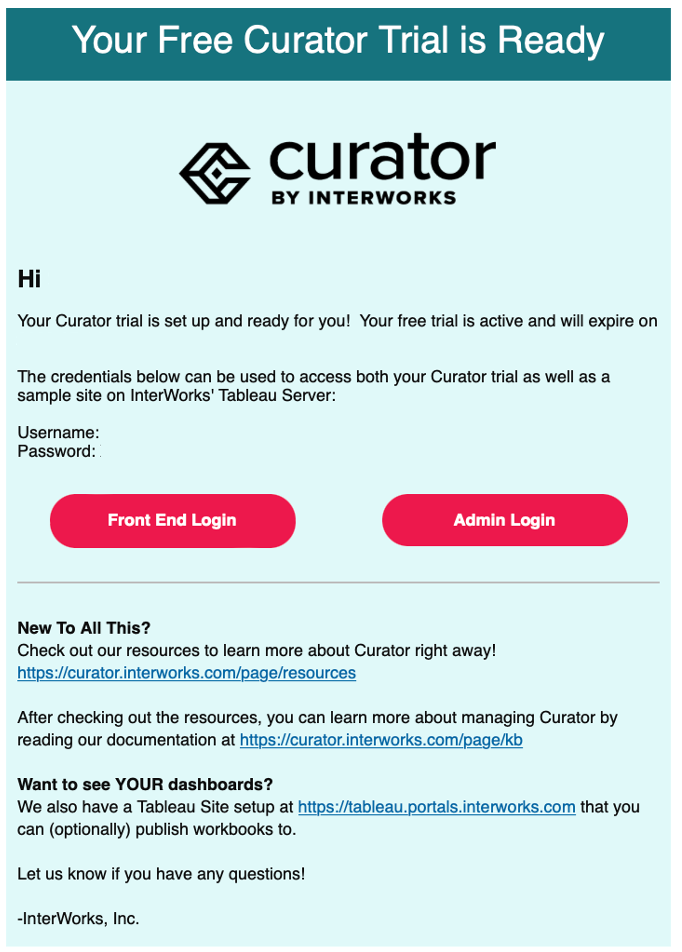
You’ve just reached out to an InterWorks Account Executive and have had a free trial set up.
You should have received an email that looks like this:
 ## Front End vs Admin
The front-end login will direct you to your portal and show you what your end users will see. The default URL should
appear as `companyname.portals.interworks.com` and is fully customizable.
The admin login will lead you to administrative settings and the URL should appear as
`companyname.portals.interworks.com/backend`. The administrative settings are where you will build your analytics portal,
control your authentication, and manage your users.
Click on the Admin login and continue to the Admin Settings below.
## Admin Settings
After entering your username and password, you should enter a screen that looks like this:
## Front End vs Admin
The front-end login will direct you to your portal and show you what your end users will see. The default URL should
appear as `companyname.portals.interworks.com` and is fully customizable.
The admin login will lead you to administrative settings and the URL should appear as
`companyname.portals.interworks.com/backend`. The administrative settings are where you will build your analytics portal,
control your authentication, and manage your users.
Click on the Admin login and continue to the Admin Settings below.
## Admin Settings
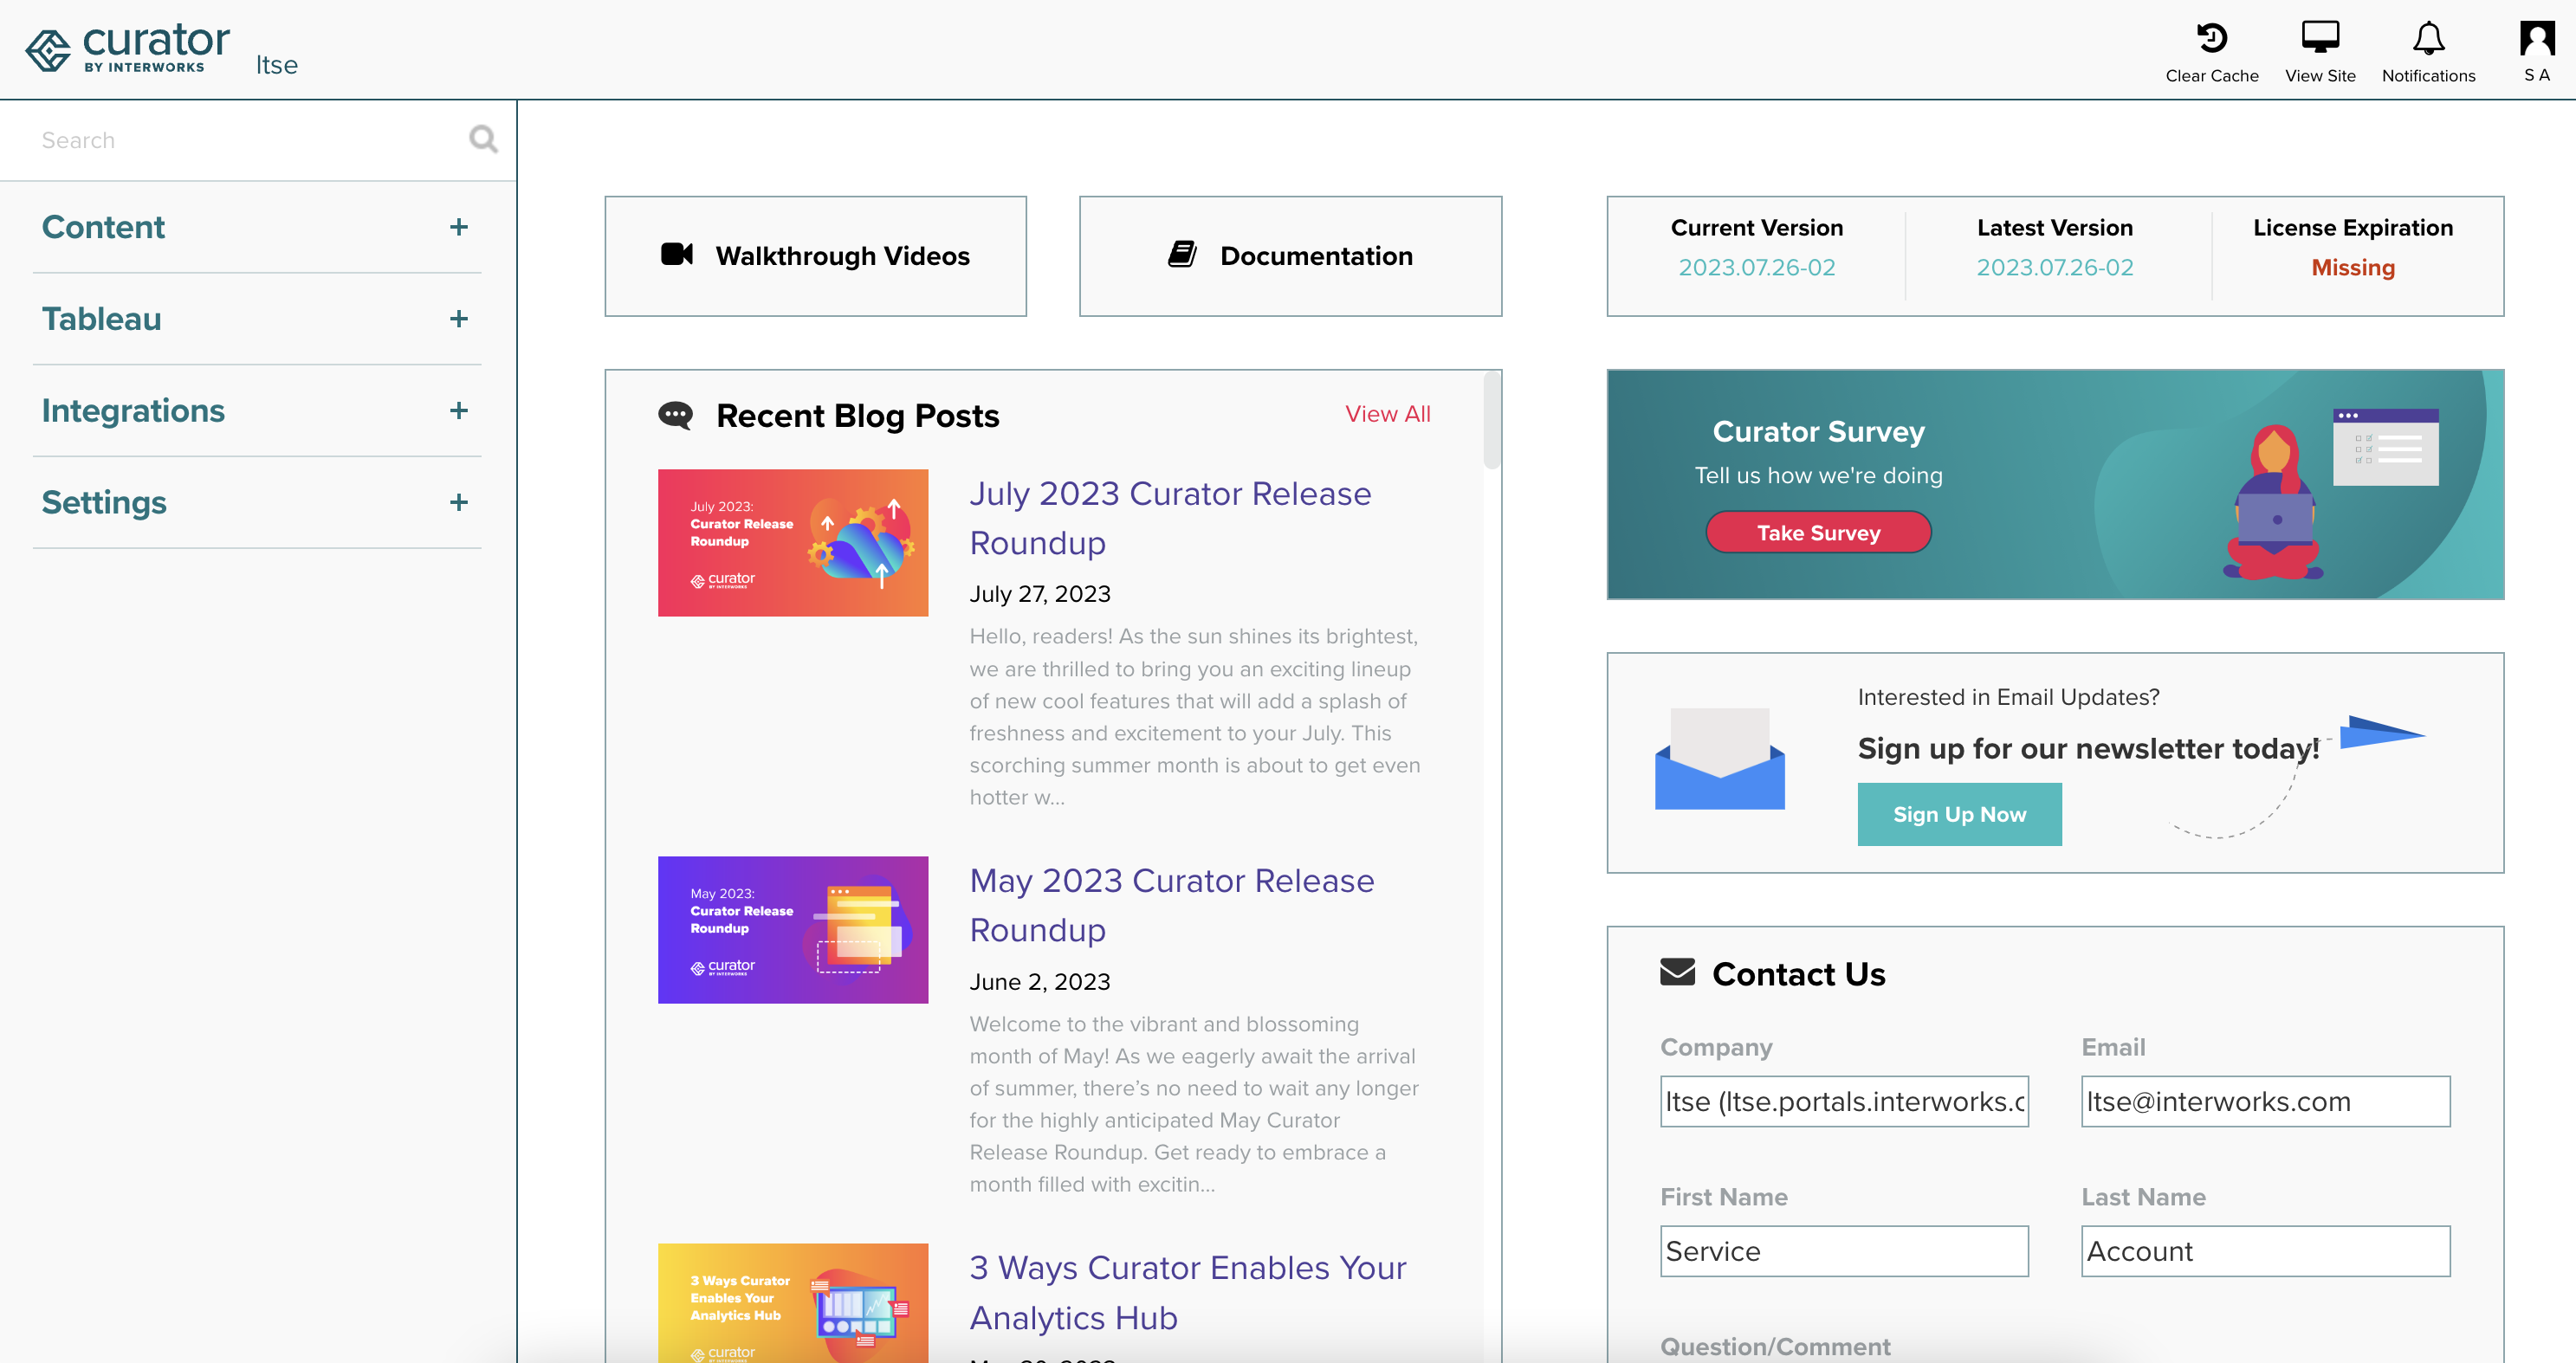
After entering your username and password, you should enter a screen that looks like this:
 ### Admin Menu Options
To the left, you’ll see the menu options. They are categorized into 4 sections.
1. **Content:** Pages, files and navigation
2. **Tableau:** Dashboards, filters and parameters
3. **Integrations:** Tableau Server connections and user group syncs
4. **Settings:** Curator settings, upgrades, security and users
### Update your Account Information and Password
In a Curator trial? Go ahead and navigate to the next page on Setting Up Your Portal. If you change your trial
credentials then we will not be able to easily troubleshoot issues for you!
If you are working on setting up your own instance, then go ahead and update your account information and password from
the defaults.
To do this, click on your icon on the top right, and update your First Name, Last Name, and Password.
### Admin Menu Options
To the left, you’ll see the menu options. They are categorized into 4 sections.
1. **Content:** Pages, files and navigation
2. **Tableau:** Dashboards, filters and parameters
3. **Integrations:** Tableau Server connections and user group syncs
4. **Settings:** Curator settings, upgrades, security and users
### Update your Account Information and Password
In a Curator trial? Go ahead and navigate to the next page on Setting Up Your Portal. If you change your trial
credentials then we will not be able to easily troubleshoot issues for you!
If you are working on setting up your own instance, then go ahead and update your account information and password from
the defaults.
To do this, click on your icon on the top right, and update your First Name, Last Name, and Password.
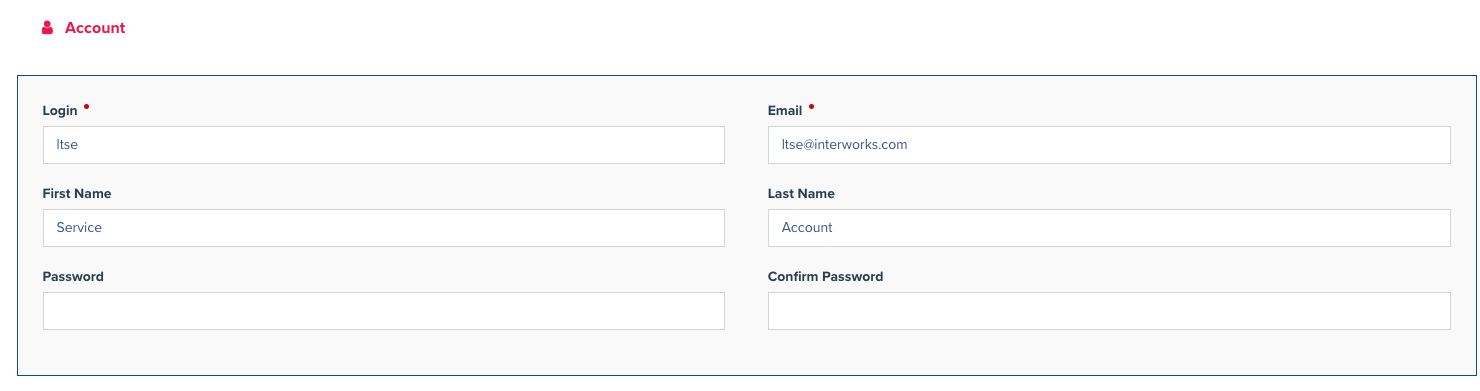 Click the save button to apply your changes.