> ## Documentation Index
> Fetch the complete documentation index at: https://docs.curator.interworks.com/llms.txt
> Use this file to discover all available pages before exploring further.
# Okta
> A guide to setting up Okta SAML authentication for Curator.
export const BackendNavPath = ({levelOne, levelTwo, levelThree, tab, section}) => {
const levels = [levelOne, levelTwo, levelThree].filter(Boolean);
const lastLevel = levels.length ? levels[levels.length - 1] : '';
return
In the backend of Curator using the left-hand navigation,
navigate to the
{levelOne && {" " + levelOne}}
{levelOne && levelTwo && " > "}
{levelTwo && {levelTwo}}
{levelTwo && levelThree && " > "}
{levelThree && {levelThree}} page.
{(tab || section) && <>
{" "}On the {lastLevel} page
{tab && <> click the {tab} tab}
{tab && section && " and"}
{section && <> expand the {section} section}.
}
;
};
After you have installed Curator, you can being integrating your users seamlessly with your existing Okta instance.
This guide will walk you through the steps to set up Okta SAML authentication for Curator, allowing users to log in
through a single sign-on (SSO) experience.
## Tableau Setup
Before you can set up Okta SAML authentication for Curator, you need to ensure that your Tableau Server or Tableau Cloud
is configured to work with Okta. This involves setting up SAML authentication on Tableau, which is a prerequisite for
integrating with Okta.
You can either refer to the [Tableau Cloud guide to setting up Okta](https://onlinehelp.tableau.com/current/online/en-us/saml_config_okta.htm)
or the [Okta guide to configure SAML for Tableau Server](https://saml-doc.okta.com/SAML_Docs/How-to-Configure-SAML-2.0-for-Tableau-Server.html).
## Creating an Okta Application
In order to link Curator to your Okta instance, you must first create a new Application on Okta. If you already have an
Okta application set up for Tableau (Server or Cloud), you will **not** be able to re-use that application for Curator
and will need to create an application dedicated to Curator integration.
Refer to the Okta document on [creating a new SAML 2.0 integration](https://help.okta.com/en-us/content/topics/apps/apps_app_integration_wizard_saml.htm).
### Curator Details to use for your Curator Okta app
You will need to use some Curator-specific details when setting up the Okta application. Below are the details you would
use for a new Curator site installed at the url `https://mycuratorsite.com`:
* **Single sign-on URL**: `https://mycuratorsite.com`. This is the URL that users will be redirected to after logging
in. Use the URL to the homepage of Curator.
* **Audience URI (SP Entity ID)**: `curator-site.com` This is the identifier for the service provider (Curator) in the
SAML authentication process.
* **Application username format**: `Email` (typically). If your users do not use email to login to Okta applications,
then select the format that matches Tableau Okta app's usernames.
* **Application username format**: `user.email` (typically). If your users do not use email to login to Okta applications,
then select the user-attribute that matches the Tableau Okta app's usernames.
## Curator Setup
Once you've created the Okta application, you can proceed to configure Curator to use SAML authentication with Okta.
### Export Authentication Metadata from Okta
Follow the [Okta guide to downloading your SAML metadata](https://support.okta.com/help/s/article/Location-to-download-Okta-IDP-XML-metadata-for-a-SAML-app-in-the-new-Admin-User-Interface).
Ultimately, this will provide you with a `.xml` file that contains the necessary metadata for
integrating Okta with Curator.
### Add Okta metadata to Curator
#### Importing Okta Metadata
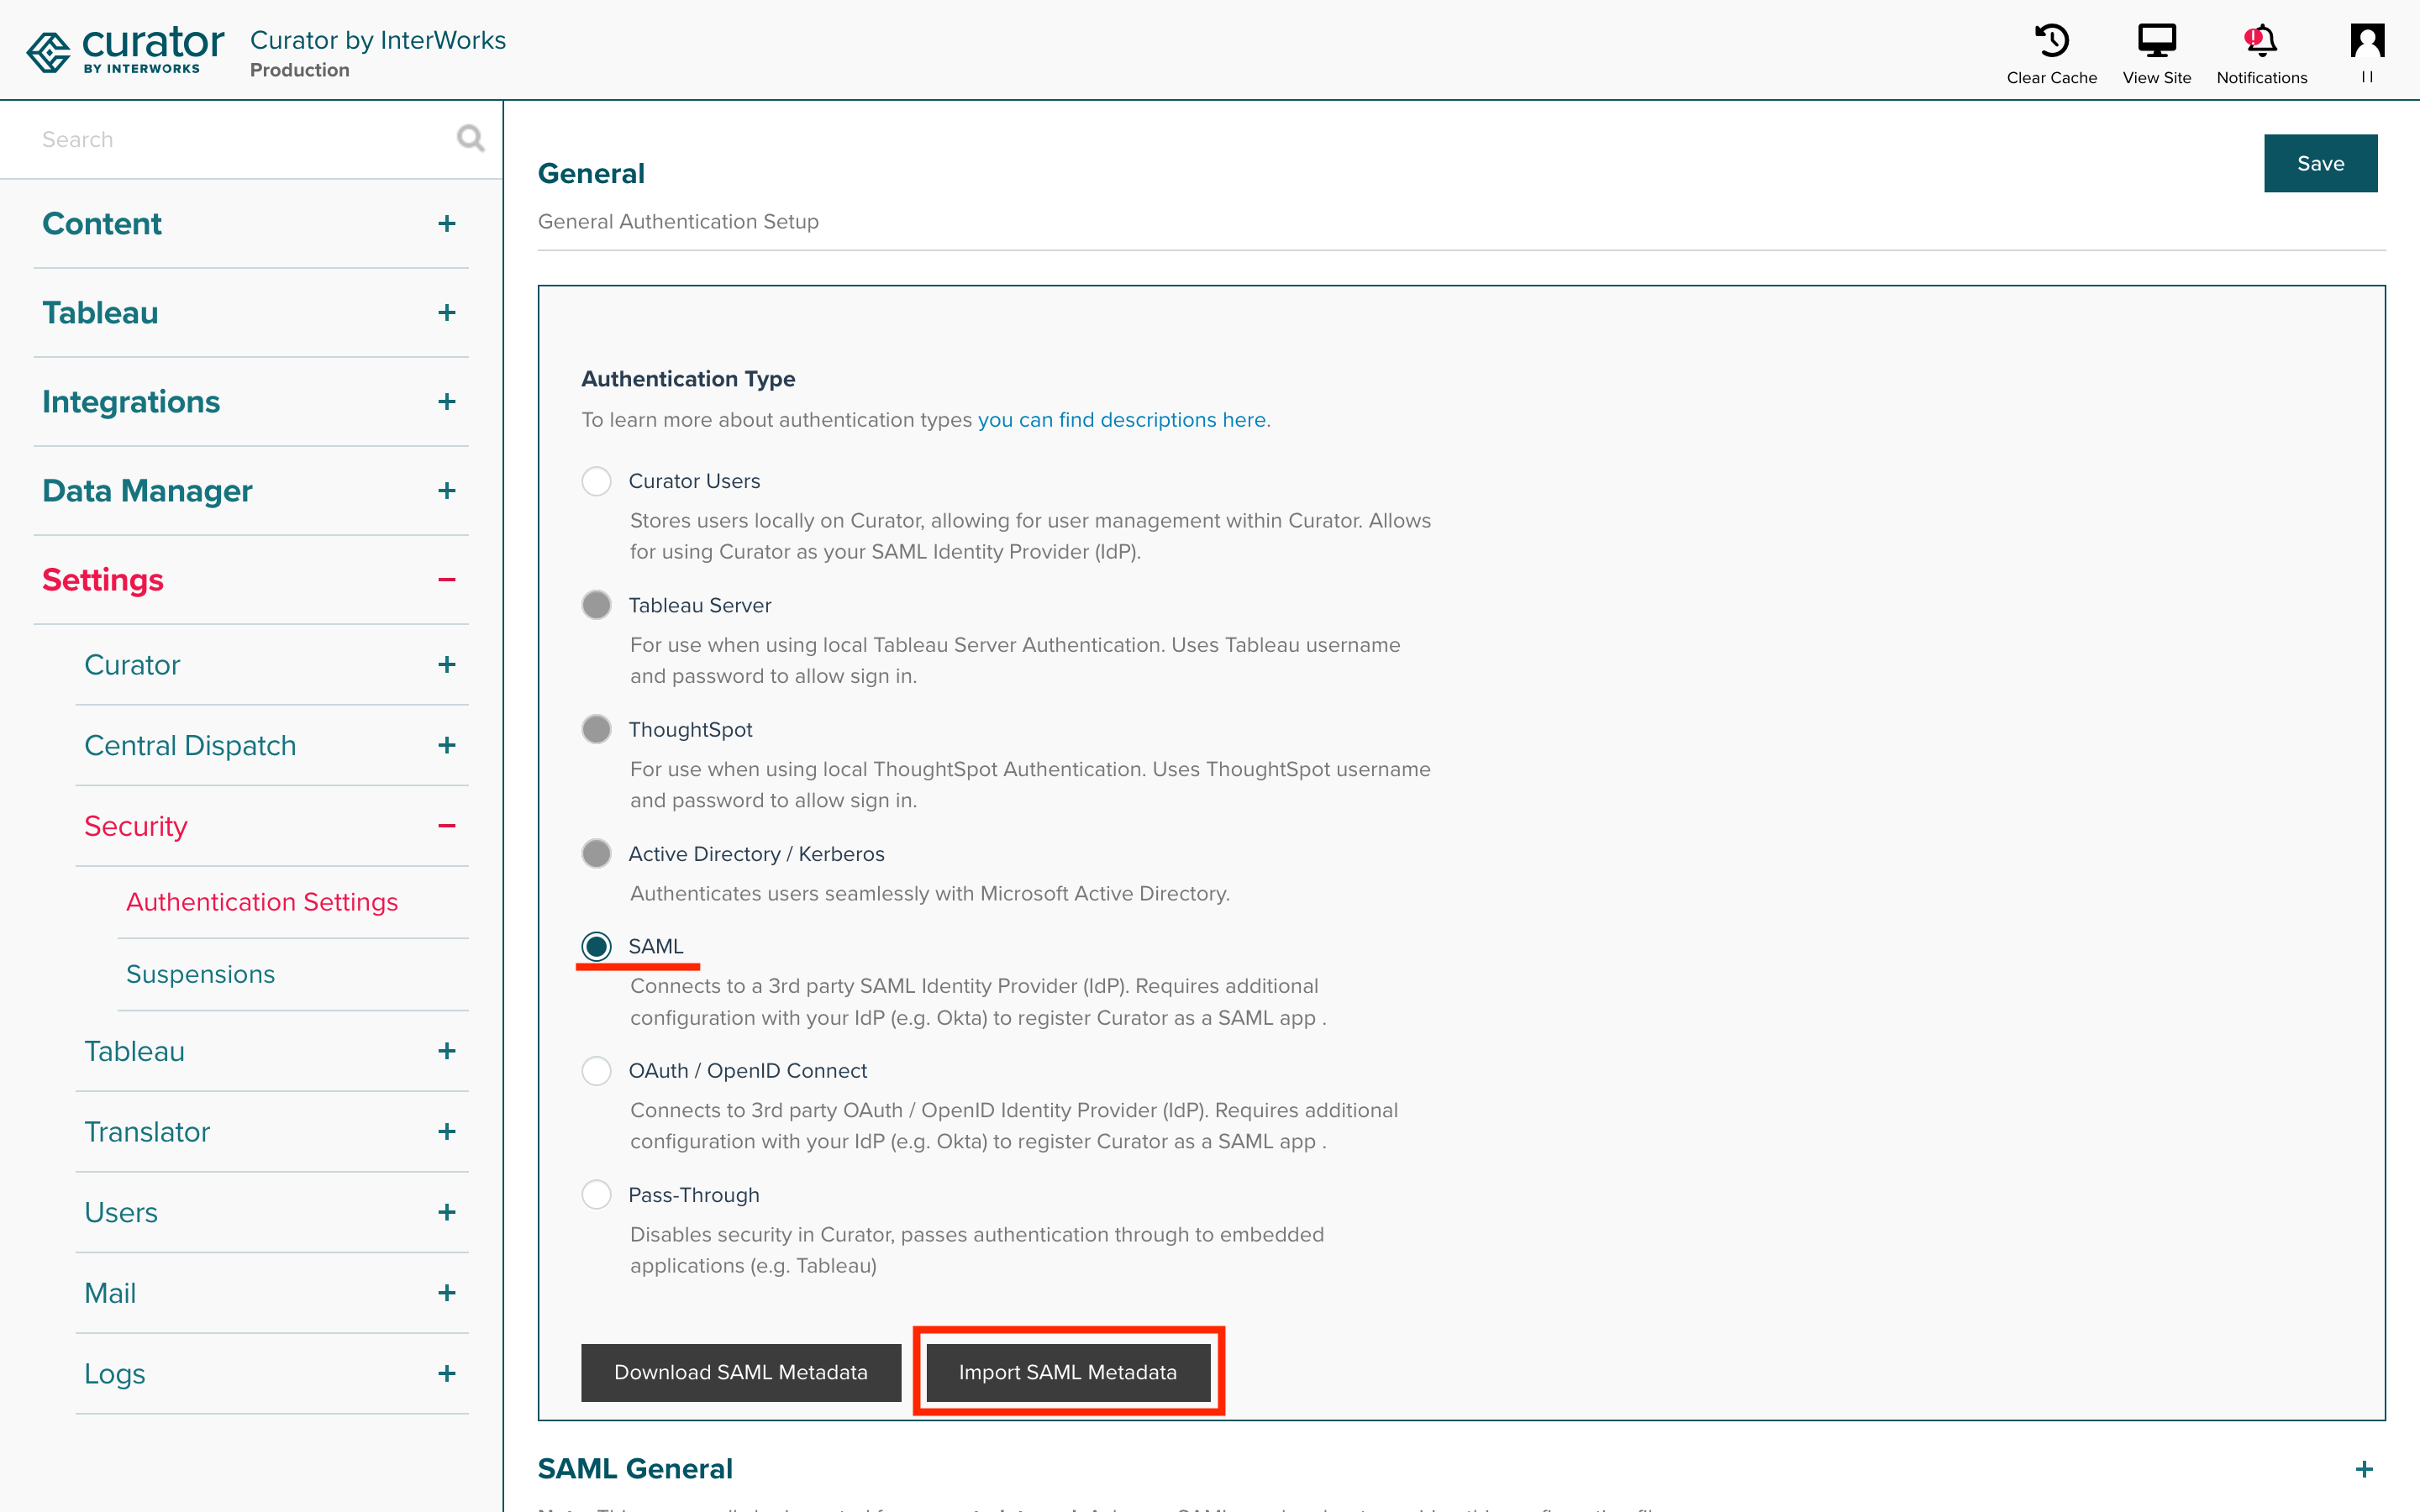
From the authentication list select "SAML". You can use the "Import SAML Metadata" button to import the XML file you generated
from Okta.
 #### Manually Entering Okta Metadata
Alternatively, you can manually enter the information:
* **Entity ID**: Enter the "Audience URI (SP Entity ID)" you filled in before.
* **SignOn URL**: Enter the "Identity Provider Single Sign-On URL" URL found in the setup section.
* **IdP ID**: Enter the "Identity Provider Issuer" from the setup section.
* **SignOut URL**: Enter the URL of the application `/login/signout` (i.e.
[https://mydomain.okta.com/login/signout](https://mydomain.okta.com/login/signout))
* **Certificate**: Open the "SAML Advanced" section, copy the certificate text from Okta, and paste it in the field.
## Enabling iFrames for Tableau's Okta App
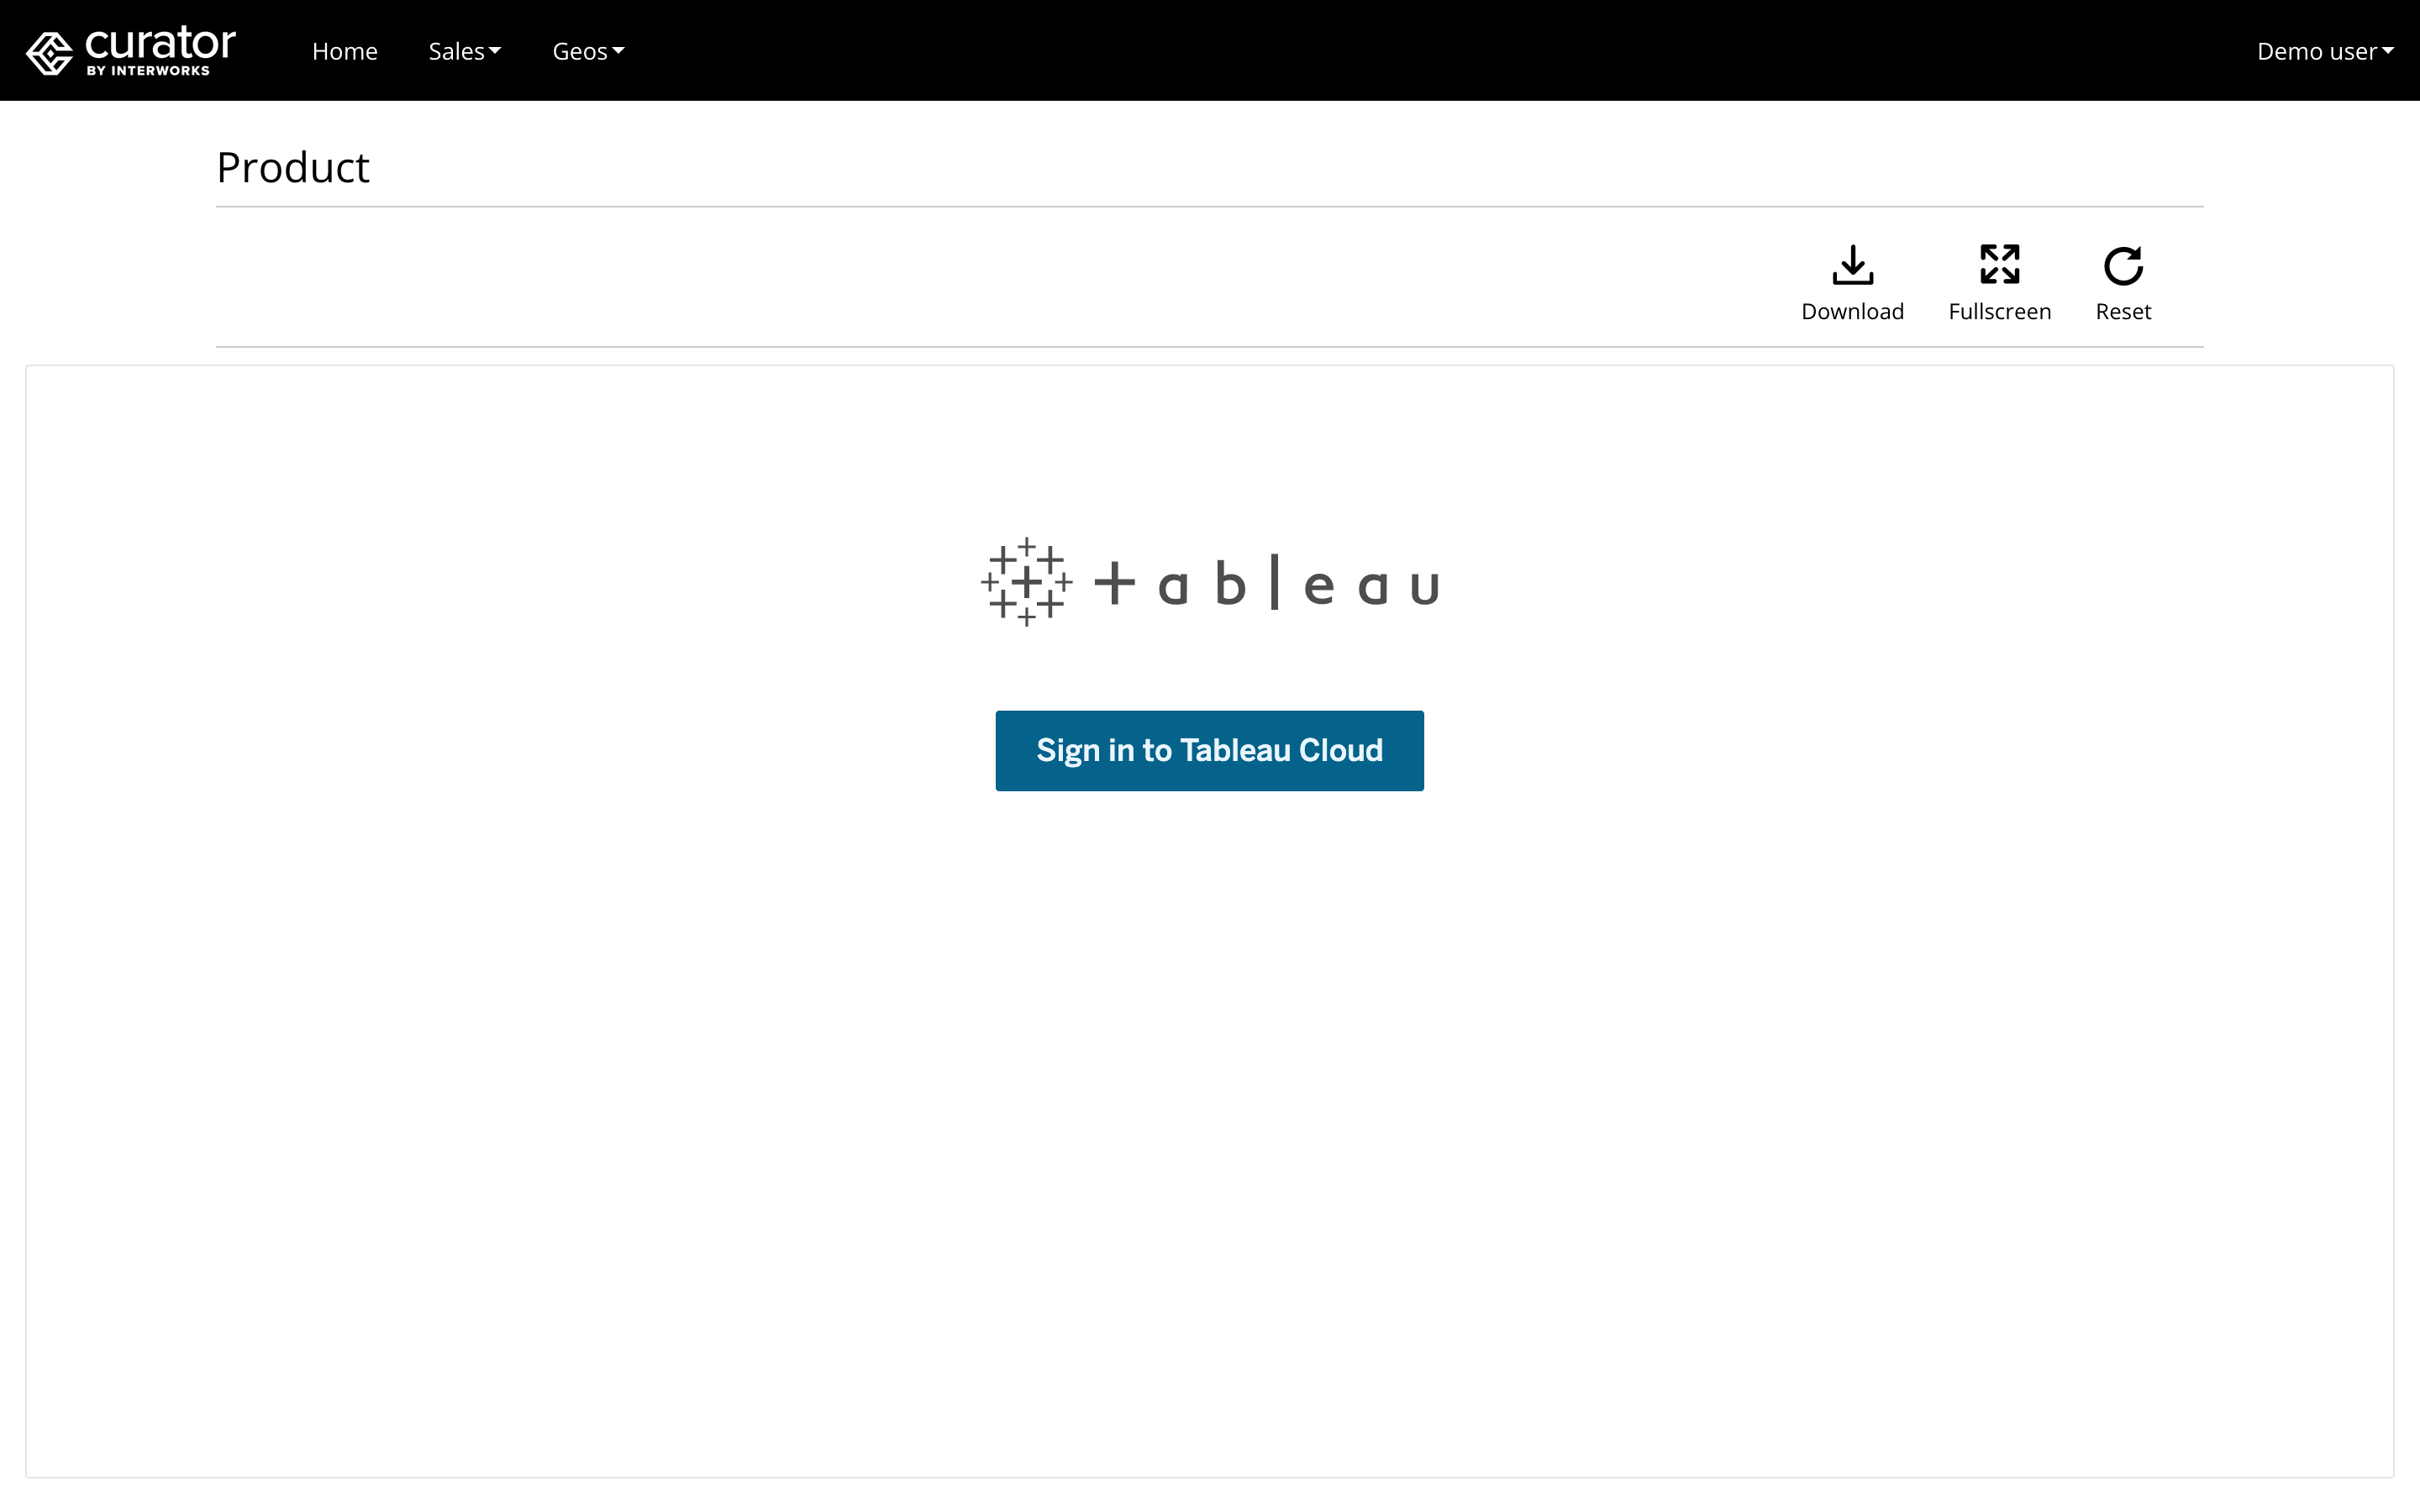
You may encounter issues with seamlessly embedding Tableau content in Curator if the Okta application is not set up to
allow iFrame embedding - if you see an image like the one below when trying to access Tableau content in Curator,
then you will need to refer to Tableau's guide on [enabling iFrame embedding for Okta](https://help.tableau.com/current/online/en-us/saml_config_okta.htm#about-enabling-iframe-embedding)
to complete your Okta integration.
#### Manually Entering Okta Metadata
Alternatively, you can manually enter the information:
* **Entity ID**: Enter the "Audience URI (SP Entity ID)" you filled in before.
* **SignOn URL**: Enter the "Identity Provider Single Sign-On URL" URL found in the setup section.
* **IdP ID**: Enter the "Identity Provider Issuer" from the setup section.
* **SignOut URL**: Enter the URL of the application `/login/signout` (i.e.
[https://mydomain.okta.com/login/signout](https://mydomain.okta.com/login/signout))
* **Certificate**: Open the "SAML Advanced" section, copy the certificate text from Okta, and paste it in the field.
## Enabling iFrames for Tableau's Okta App
You may encounter issues with seamlessly embedding Tableau content in Curator if the Okta application is not set up to
allow iFrame embedding - if you see an image like the one below when trying to access Tableau content in Curator,
then you will need to refer to Tableau's guide on [enabling iFrame embedding for Okta](https://help.tableau.com/current/online/en-us/saml_config_okta.htm#about-enabling-iframe-embedding)
to complete your Okta integration.
 ### Additional Customization Options
#### Auto-launch
You may want to select a few options to make the login process more streamlined. First, set the Curator application to
"Auto-launch" in the "edit application" section on Okta.
#### Hide Tableau Cloud Icon
You may also wish to hide the Tableau Cloud icon from users. You can do this in the edit application area for the
Tableau Cloud app. Under "App Settings", select "Do not display application icon to users".
#### Sign-out Page
When users sign out of Curator, they will be redirected to the Okta sign-out page by default. This may be preferred, but
if you'd like to redirect users back to the homepage of Curator, refer to Okta's guide on
[customizing the sign-out page](https://help.okta.com/en-us/content/topics/settings/settings-configure-sign-out.htm).
### Additional Customization Options
#### Auto-launch
You may want to select a few options to make the login process more streamlined. First, set the Curator application to
"Auto-launch" in the "edit application" section on Okta.
#### Hide Tableau Cloud Icon
You may also wish to hide the Tableau Cloud icon from users. You can do this in the edit application area for the
Tableau Cloud app. Under "App Settings", select "Do not display application icon to users".
#### Sign-out Page
When users sign out of Curator, they will be redirected to the Okta sign-out page by default. This may be preferred, but
if you'd like to redirect users back to the homepage of Curator, refer to Okta's guide on
[customizing the sign-out page](https://help.okta.com/en-us/content/topics/settings/settings-configure-sign-out.htm).