

If you are reactivating your license as part of moving Curator onto new server hardware, see
Moving Curator to a New Server for the full sequence
this step belongs to.
How to Update your License Key
In order to add or update your license key, follow the steps below:-
Login to the backend of your Curator instance (e.g.
http://curatorexample.com/backend). - Navigate to the Settings > Curator > System Upgrade section from the left-hand menu.
-
Click on the pencil “Update Key” link
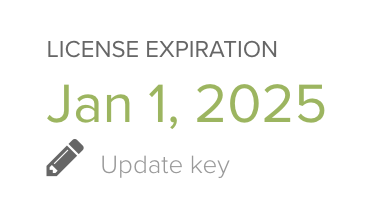
- Enter your license key and click “Save”.
Troubleshooting
If the license key fails to activate, work through the following checks to ensure your license is valid:- Check your active instance count. Standard license keys cover up to 3 instances (with only one in Production). If you have retired an older instance — for example after a server migration — it may still count against the limit.
- Copy and paste the key exactly. Retyping the key by hand is the most common cause of activation failures. Paste the key directly from the email or portal where you received it, and confirm there are no leading or trailing spaces.
-
Verify via CLI. If the Curator backend is unavailable or inaccessible — for example on a fresh install that
has not yet been fully configured — set the key from the command line instead: