USERATTRIBUTE()
in your Dashboard to retrieve the value of the User Attribute and filter your data accordingly.
There are two ways to assign Attributes to users in Curator. The can either be inherited from their
SAML profile on login, or
assigned directly to the user or their
group in Curator.
Enabling SAML Attribute Retrieval on Login
You can automatically assign User Attributes to Curator users based on the Attributes sent from your SAML Identity Provider (IdP) when they login. This allows you to centrally manage User Attributes in your IdP, and have them automatically applied to users in Curator on login.SAML Authentication must be enabled to associate your SAML provider’s Attributes
to Curator users on login.
-
In the repeater, enter the name of the User Attribute you would like Curator to detect from the user’s SAML profile
on login.
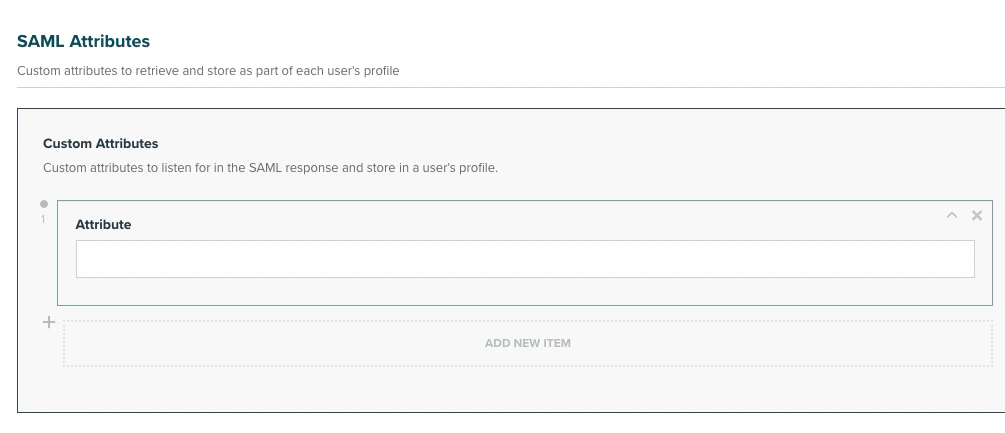
- Be sure to Save your changes.
USERATTRIBUTE() function in your dashboards to show or hide data accordingly.
Assigning User Attributes in Curator
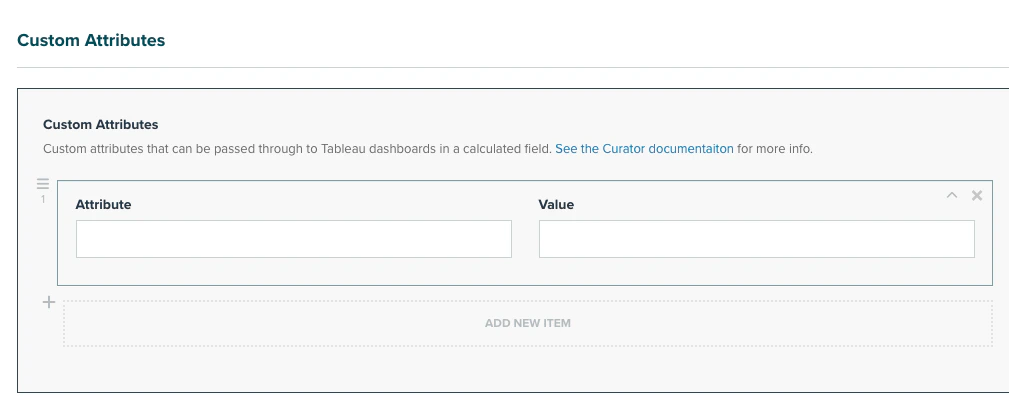
If you are not using a SAML IdP, or need to assign additional Attributes to your users that are not present in your SAML profile, you can assign Attributes directly to users or groups in Curator.Assigning Group Attributes
- Find a user group and click on the group to edit details, or click the “New Frontend Group” button to create a new group on Curator.
- Expand the Custom Attributes section, and enter the attribute name and value you would like to assign to all
users that belong to this group.
- Click the “Save” button.
Assigning User Attributes
- Find a user and click on the user to edit details - if no user exists, you can create one first before proceeding.
- On the edit-user page, expand the Custom Attributes section, and enter the attribute name and value you would
like to assign to this user.
- Click the “Save” button.
User Attribute Inheritance
When a conflict arises due to the same attribute being found in multiple locations, the User attributes will take highest precedence, followed by Group attributes and then SAML attributes. So for example, if a user has an attributeRegion: US assigned directly to them, but their group has Region: EU, the resolved attribute for that user will be
Region: US.
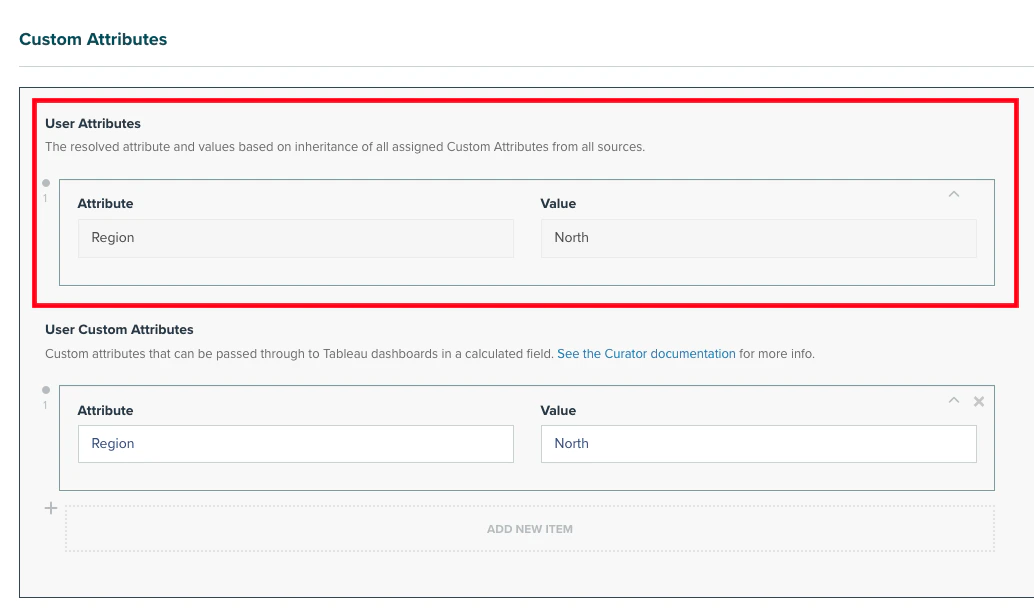
Viewing a User’s Resolved Attributes
Because of the inheritance described above, you may wish to see the final set of Attributes that a user has. To view the user’s resolved attributes:- Find a user and click on the user to view the edit-user page.
- On the edit-user page, expand the Custom Attributes section. Any assigned attributes will appear at the top of
the section under the User Attributes header: